The GCC Coverage Data from Project option in the Import wizard lets you import code coverage data from applications that have been run outside of the IDE.
For example, in a self-hosted build environment, if you run a code-coverage-enabled program from the command-line, it writes code-coverage data into a project_name.gcda file in the same directory as the program's code.
To import code-coverage data:
- In the Import wizard (), expand , choose GCC Coverage Data, and then click Next.
The IDE shows the GCC Coverage Import panel.
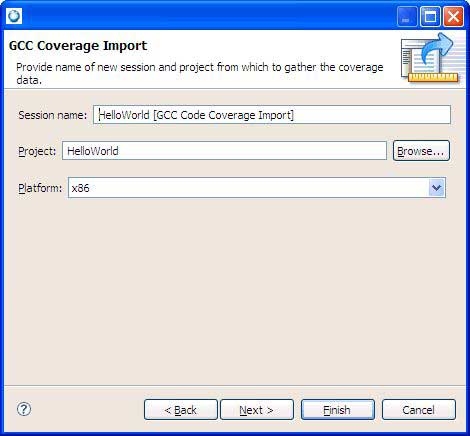
- Enter a code-coverage session name in the Session name field.
- Enter a project name in the Project field, or click the Browse… button to select a project.
- Click Next to continue.
- Select a protocol type and a location for the coverage data.
- Click Next.
The IDE shows the next panel.
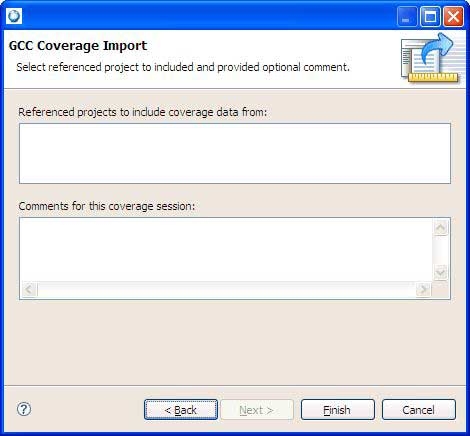
- To include code-coverage data from referenced projects, select them in the Referenced projects to include coverage data from list.
- To include any comments with the new code-coverage session (such as details about the data you're importing), enter them in the Comments for this coverage session field.
- Click Finish to import the code coverage data as a new session in the Code Coverage Sessions view.
- Click Next.